Before you start, download an authenticator app to your phone. This can be Google Authenticator, Microsoft Authenticator, or any other authenticator app of your choice. You'll find them in the App Store (iPhone) or Google Play Store (Android). You can find one by searching 'authenticator' in the store.
Step 1: Open your Force24 user settings
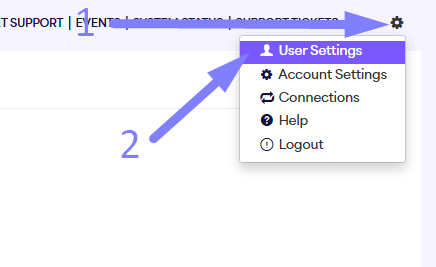
Click the cog icon in the top right of the screen and select 'user settings'.
Step 2: Turn on two factor authentication
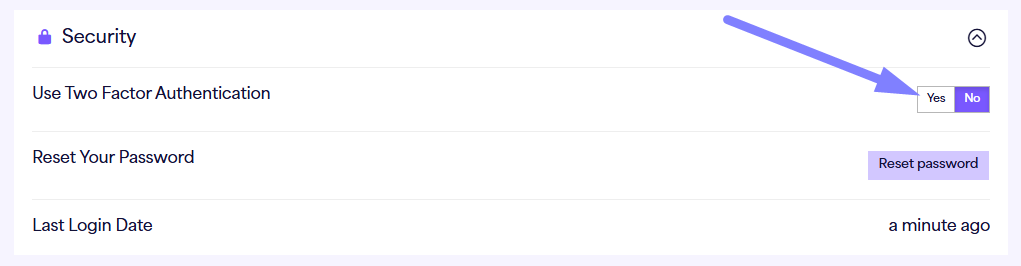
Go to the 'Security' section in user settings. Next to 'Use two factor authentication', click 'Yes'.
Step 3: Get your QR code
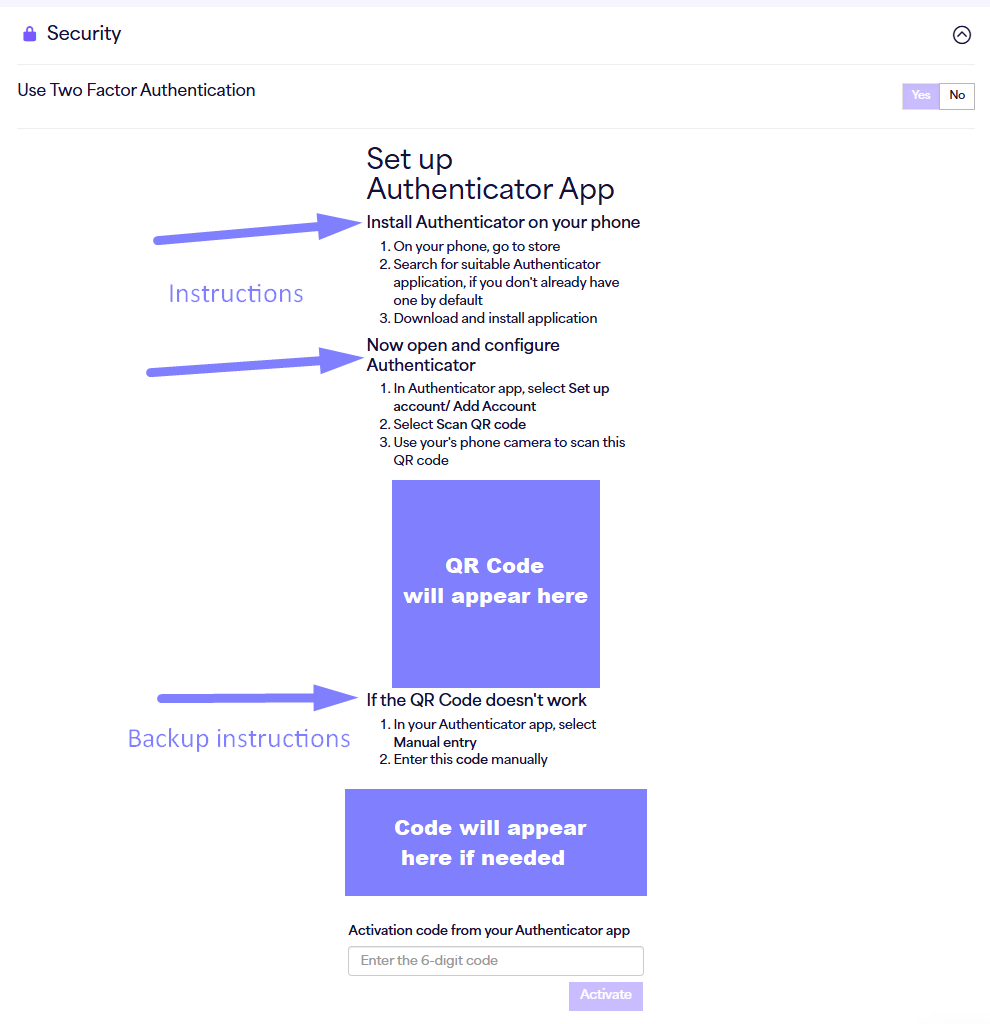
This opens the 2FA setup screen. You'll see a QR code on it.
Step 4: Open your authenticator app and add an account
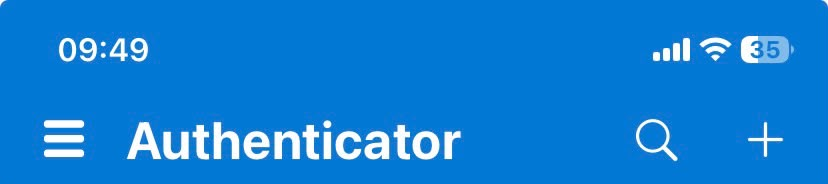
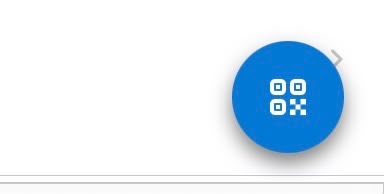
Open your authenticator app. Tap the '+' button to add a new account or click a QR code button. The '+' button is normally found at the top or bottom corner of the main screen in the app.
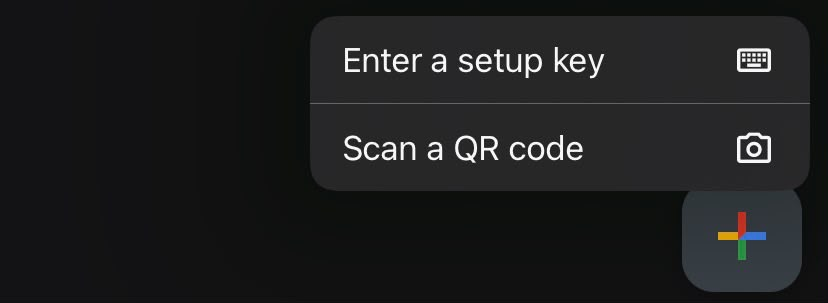
Google Authenticator example, from the bottom of the screen:
Microsoft authenticator example, from the top of the screen:
Some just have a QR code button you can use like this:
Step 4b: Choose how to add your Force24 account
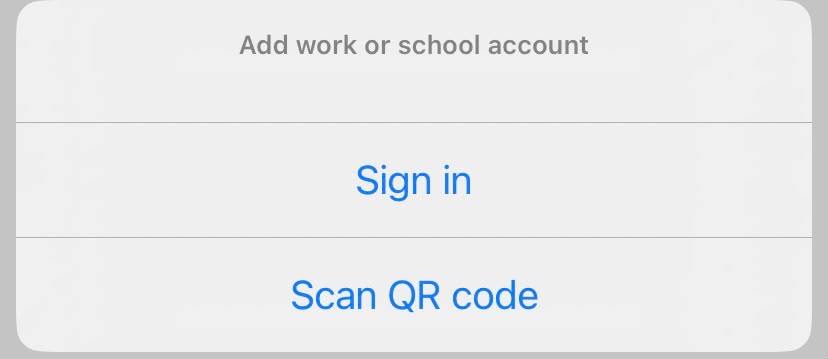
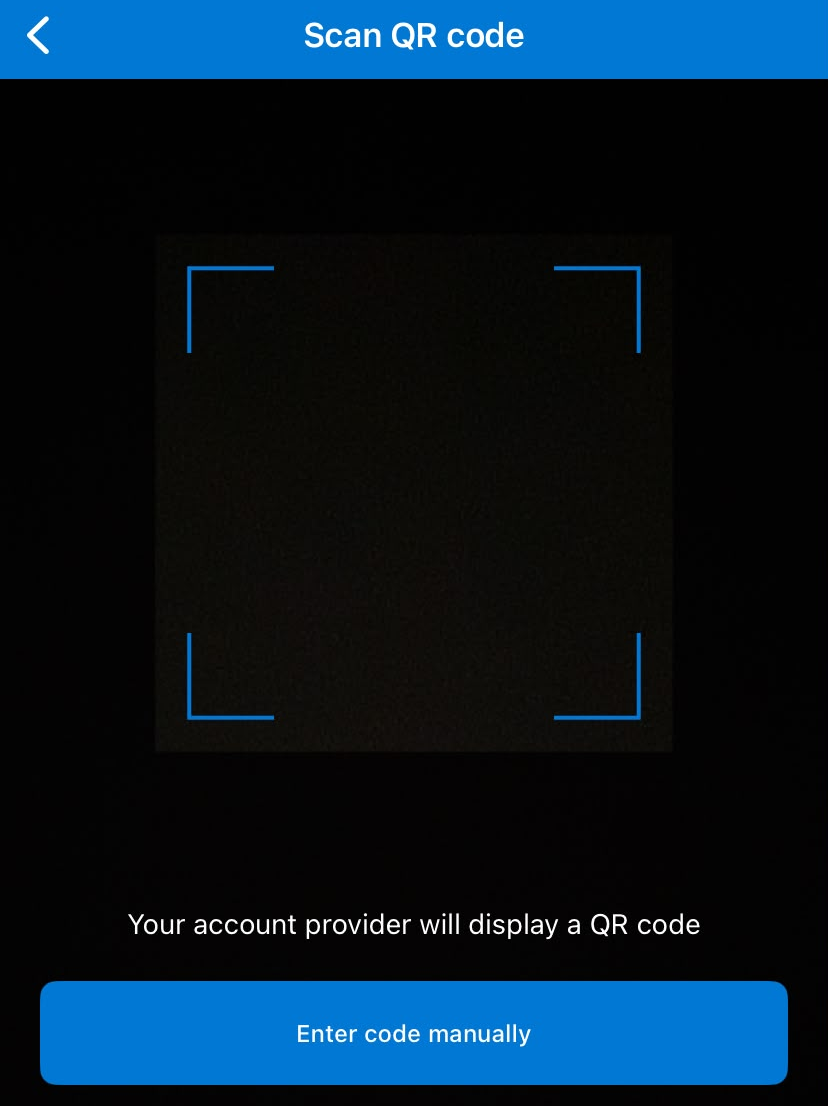
Your app will ask you to either scan a QR code or enter a code manually, or if you're already in a QR code scanner, there may be a button to enter a code manually should the QR code not work in your app.
- Scan a QR code: this opens your camera. Point it at the QR code that generated during step 3. We recommend trying this method first.
- Enter a code: this lets you type the code in by hand instead. In this case, take the code from under the "If the QR Code doesn't work" area in the platform you found in step 3 and place it there in the app.
Step 5: Enter the code into Force24
Your authenticator app will now show a 6-digit code for your Force24 account.
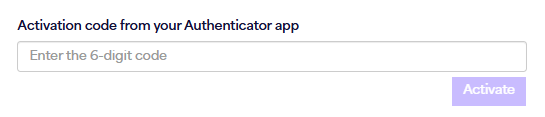
Go back to the Force24 setup screen and type this code into the box labelled 'Activation code from your Authenticator app' which appeared when you took the actions in step 3.