When a recipient hits 'unsubscribe' we can give them options, such as Newsletters, Events, Promotions etc.
To set these up, you first need to click on the 'Account Settings' tab in the top right hand corner of the platform.

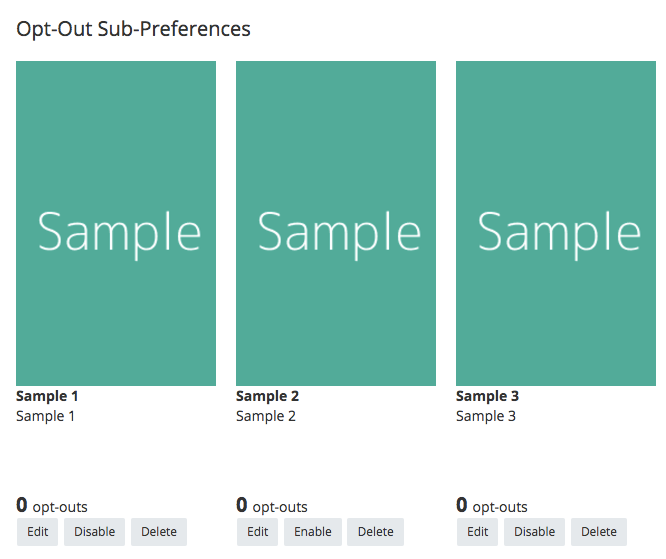
Then scroll down to the 'Opt-Out Sub-Preferences' section.

Click the plus icon in the top right to add your first sub-preference.

In the pop up box enter the name of the campaign such as 'Newsletter', and then enter a brief description of the type of communication below. For example 'Stay up to date with our latest news'.
You will also need to include an image for each of your preferences. You can drag and drop or select an image file to add - your image proportions should be around 179px x 291px.
Click 'Yes' at the bottom if you want to show this sub-preference when contacts click 'unsubscribe'.

The image size can be selected once it has been uploaded with the following controls;

You can then come back to your preferences at a future time to see how many people have opted-out of each.
If you click "Edit" on the Op-Out Sub-Preferences, you will be taken to this pop up:

If you toggle the Show On Unsubscribe to Yes, then when contacts click the Unsubscribe in your email, they will be taken to a page similar to this:

Where they can choose to opt out of whichever Sub-Preferences they want to.
If a contact does opt out of a particular Sub-Preference, this is how it would show in their contact profile:

To apply a particular Sub-Preference to a campaign, you will need to follow the steps in this article until you get to this screen:
